Swing Door Service Tool
The Swing Door Service Tool is a modern, easy-to-use app that supports technicians in the installation, maintenance, and troubleshooting of a SW300-S door. The app integrates seamlessly into technicians’ daily workflows. It provides step-by-step instructions and immediate access to important door status information. Thanks to its intuitive user interface, technicians can efficiently diagnose problems, adjust settings, and exchange data, making every service call more efficient and productive.

A modern tool for modern technicians
The Swing Door Service Tool is available for iOS and Android and supports both smartphones and tablets, ensuring convenient access wherever it’s needed.
The following sections cover:
- First-time login
- Connecting the app to the door
- Door installation guide
- Door service and configuration

Topics on this page:
Create an Insight Account
To use the app, external technicians need an active user account in Insight, ASSA ABLOY’s customer portal. If you already have received an email invitation from Insight to activate your Insight account, go to the section: First Time Login.
If you do not yet have an Insight account, there are two registration options available:
- Your company can apply to become a Service Partner
- You can register as an External Single Service User.
For more information, go to: Create an Insight Account.
First time login
This section explains the first-time login process, beginning with the email invitation sent from Insight. It also provides step-by-step guidance on installing the app and signing in for the first time.
Step 1: Activate your Insight account
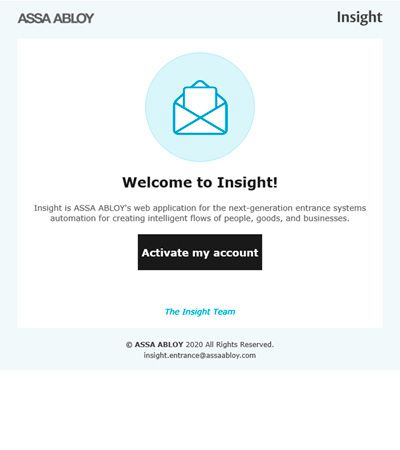
Once a technician has been added to a company account in Insight, an invitation email is automatically sent. By clicking Activate my account, the technician is redirected to the Insight portal https://insight.assaabloyentrance.com to activate their account.
Step 2: First log in into Insight
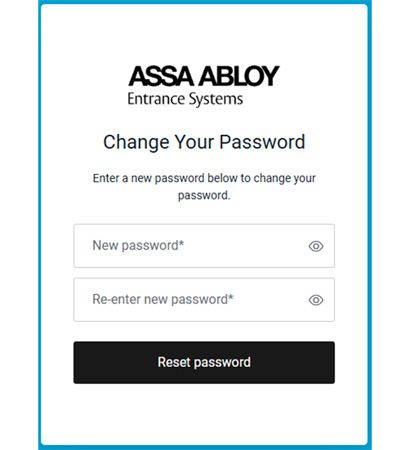
In Insight, the technician enters their email address, creates a password, accepts the Privacy Policy, and completes their profile information. Once the account has been activated, the technician is granted access to the Swing Door Service Tool.
Step 3: Installing the app
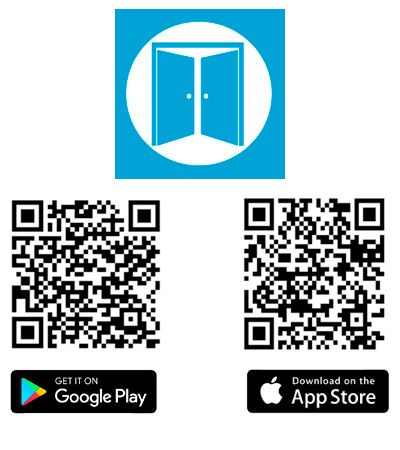
Download and install the Swing Door Service Tool app from either the Google Play Store (Android) or the Apple App Store (iOS).
Search for:
- Android: Swing Door Service Tool
- iOS: Swing Door Servicing Tool
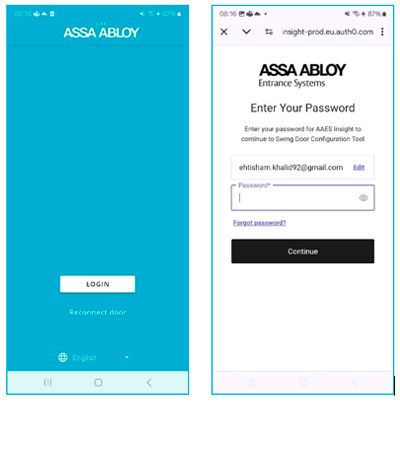
Step 4: Log in into the app
Once the app has been installed, the technician can sign in using their Insight email address and password. After signing in, the technician can begin using the Swing Door Service Tool.




Connect to the Swing Door
Once the app has been installed and the technician has signed in, the app can be connected to the door via Bluetooth. Follow the steps below to establish the connection.
Step 1
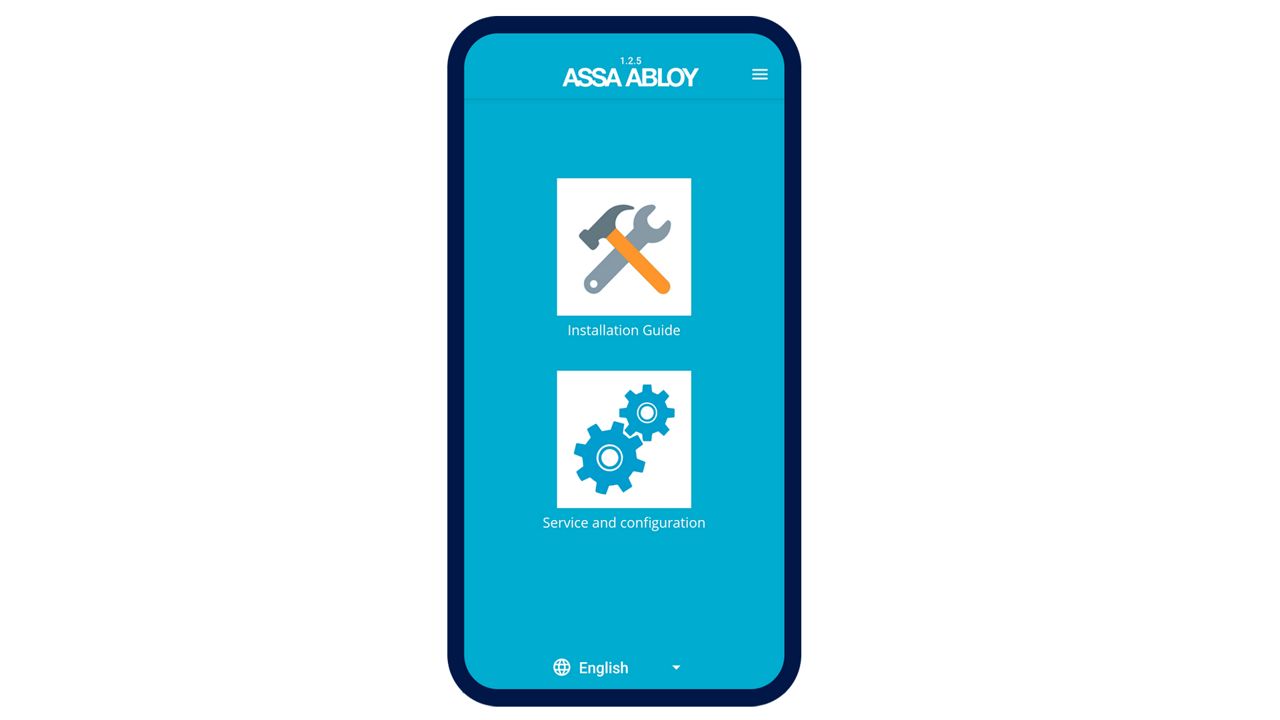
Select either Installation or Service/Maintenance. Once the app is connected to the door, the selected mode determines the initial screen displayed.
Step 2
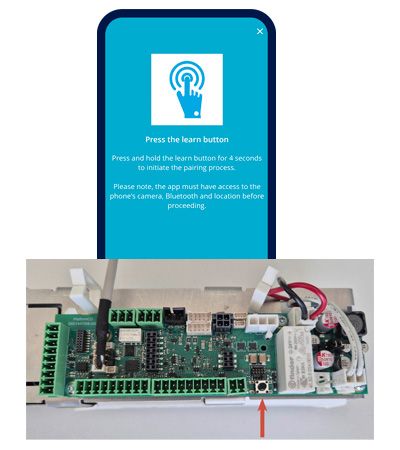
A screen appears instructing the technician to press and hold the learning button on the door controller for 4 seconds to initiate Bluetooth pairing. The app will then attempt to connect to the door.
Step 3
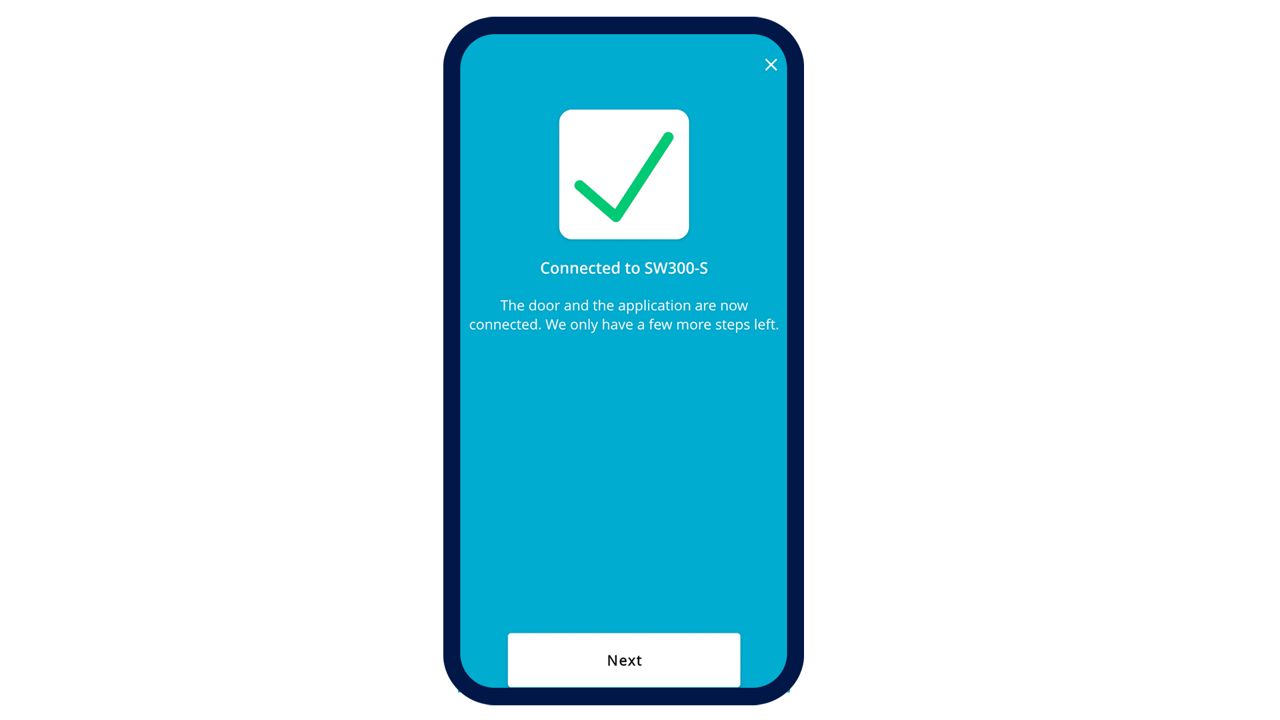
When the pairing process is complete, a green check mark confirms that the connection has been established successfully. Based on the mode selected in Step 1, the corresponding start screen is displayed. The available options are described below.



Installation Guide
The Installation Guide provides step-by-step instructions for configuring and commissioning the door system. To ensure a successful installation, complete the following seven steps in sequence.
Step 1: Door Type
Configure the Door Role by selecting either Single Door or, for a double-door installation, Primary Door or Secondary Door.
Next, select the appropriate Double Door Variant (Rebated, Independent Doors, or Double Egress) and set the Synchronization Angle.
Once the configuration is complete, tap Save to store the settings. To verify the configuration, tap Opening Impulse to perform a test opening. When finished, tap the arrow (>) in the top-right corner to continue to Step 2.
Step 2: Arm System
Configure the Push/Pull jumper on the controller according to the installation requirements.
In the app, select the appropriate arm configuration based on the door movement (Push, Pull, or Double Acting) and the arm type being used.
If necessary, trigger an opening impulse after having saved the settings.
Step 3: Lock Output Configuration
Select the lock type and configure the lock output settings according to the installation requirements.
Once the configuration is complete, tap Save to apply the settings.
Step 4: Learn
The door will learn its opening and closing positions. Please note that no safety protection is active during the learning cycle.
Step 5: Basic Door Parameters
On this screen, you can configure the basic door parameters, including hold-open time, opening and closing speeds, and other settings.
Step 6: Configure Sensors
After having learned your door sensors (outside of this app) you can set the sensor-related parameters on this screen. Choose the type and the monitoring of the safety sensor first. Next set the present detect blanking angle and the cancellation of the extended closing torque. Finally, set the presence impulse with manual opening.
Step 7: Kill/Fire
On the final screen of the installation guide, configure the Kill and Fire settings as required. Once the settings have been saved, tap Close to complete the setup. The app will then return to the Status screen.


Service & Configuration
The Swing Door Service Tool consists of four main tabs that provide quick and easy access to the app's functionality. The Status, Settings, Modes, and More tabs are briefly described below.
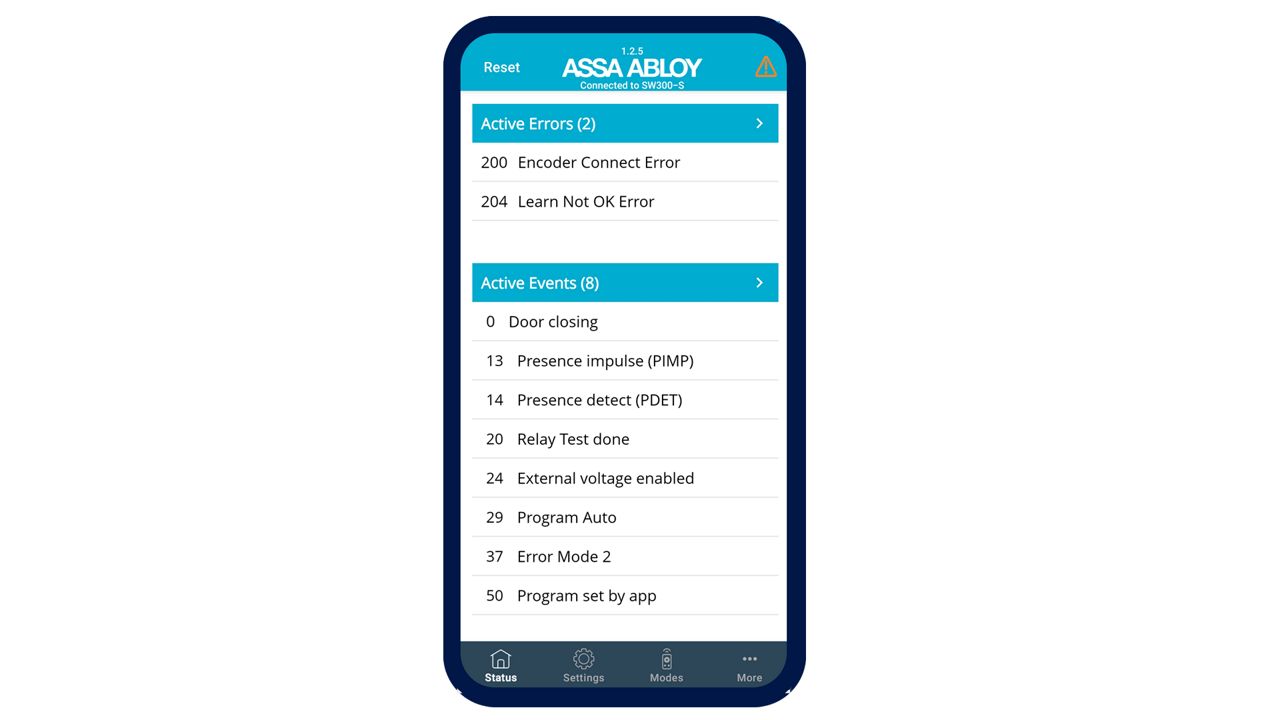
Status
This tab is the app's home screen. It displays the current status of the door, including active errors and events. By selecting the blue Active Errors or Active Events sections, users can access the door system's error and event logs.
Note: The red exclamation mark symbol in the top-right corner is displayed on all screens when an active error is present.
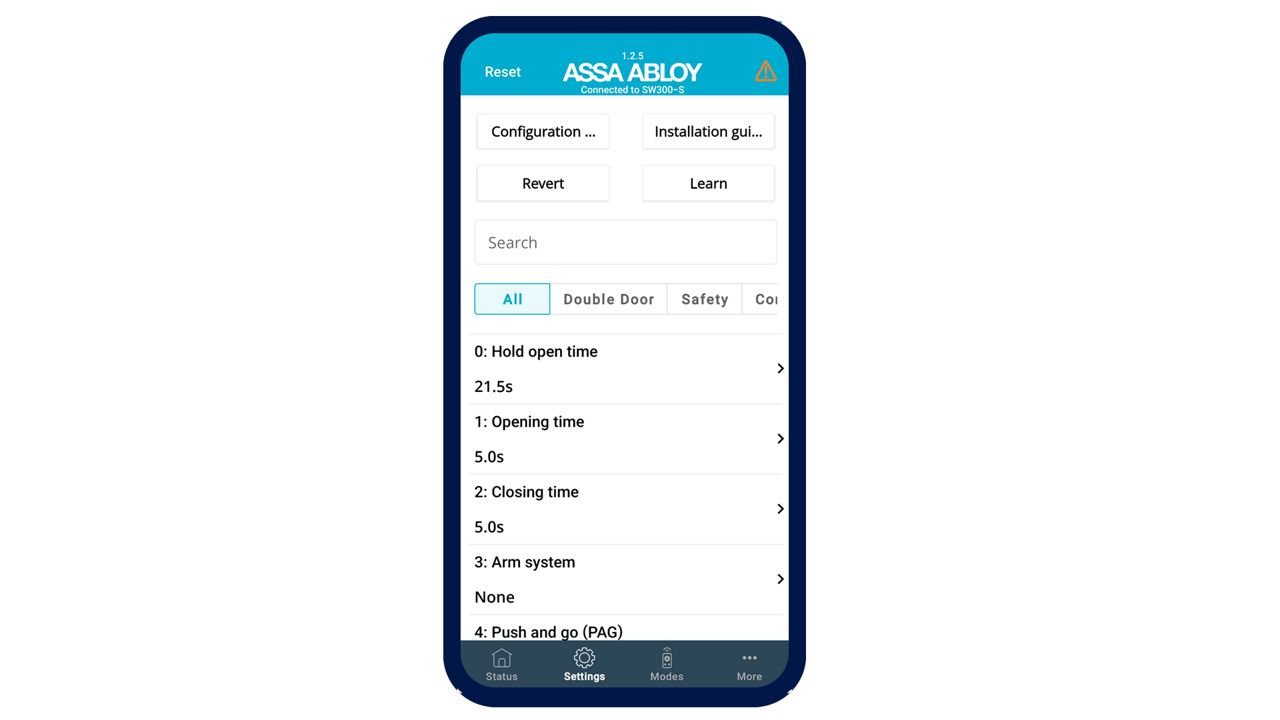
Settings
As the name suggests, the Settings tab is used to configure door parameters. Door configurations can also be imported and exported locally.
Selecting Revert restores all door parameters to their default values, while Learn starts a learning cycle for the door.
The Installation Guide button opens the installation process described above.
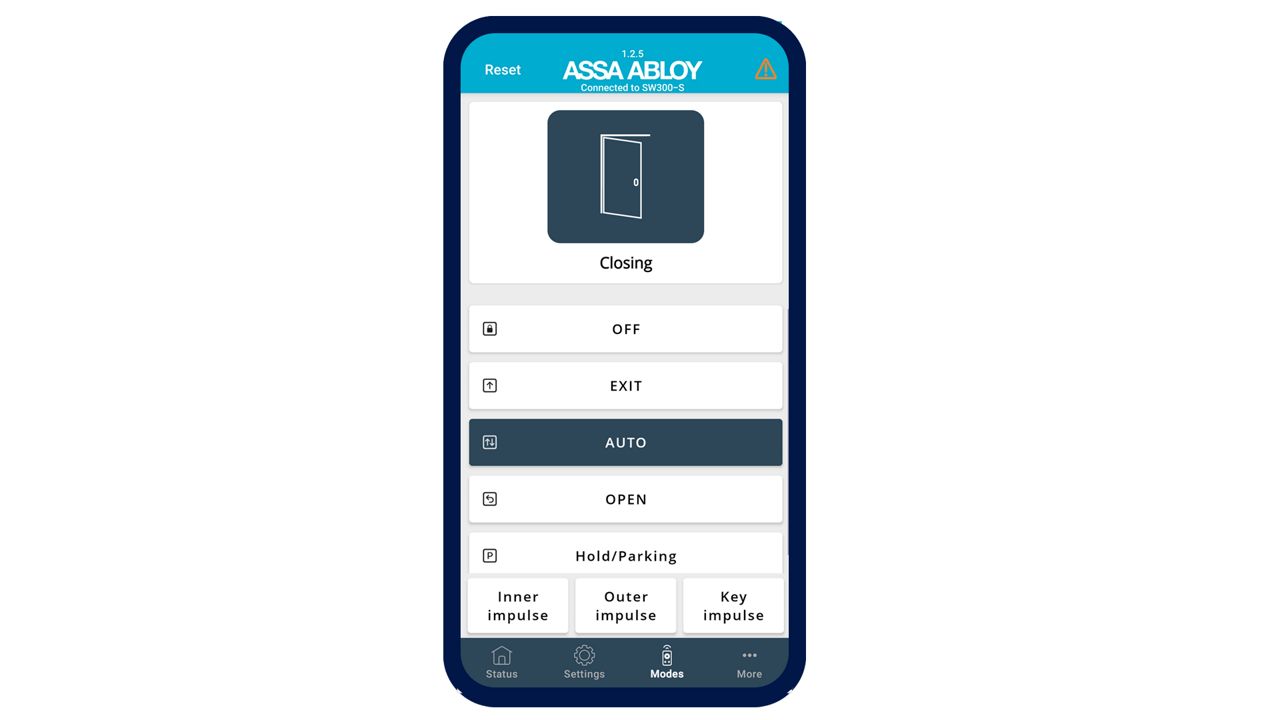
Modes
The Modes screen allows you to set the door's operating mode. The graphic above displays the current door position. The door can be in one of four states: Opened, Closed, Closing, or Opening.
The buttons at the bottom of the screen can be used to trigger different impulses, such as Inner, Outer, and Key impulses.
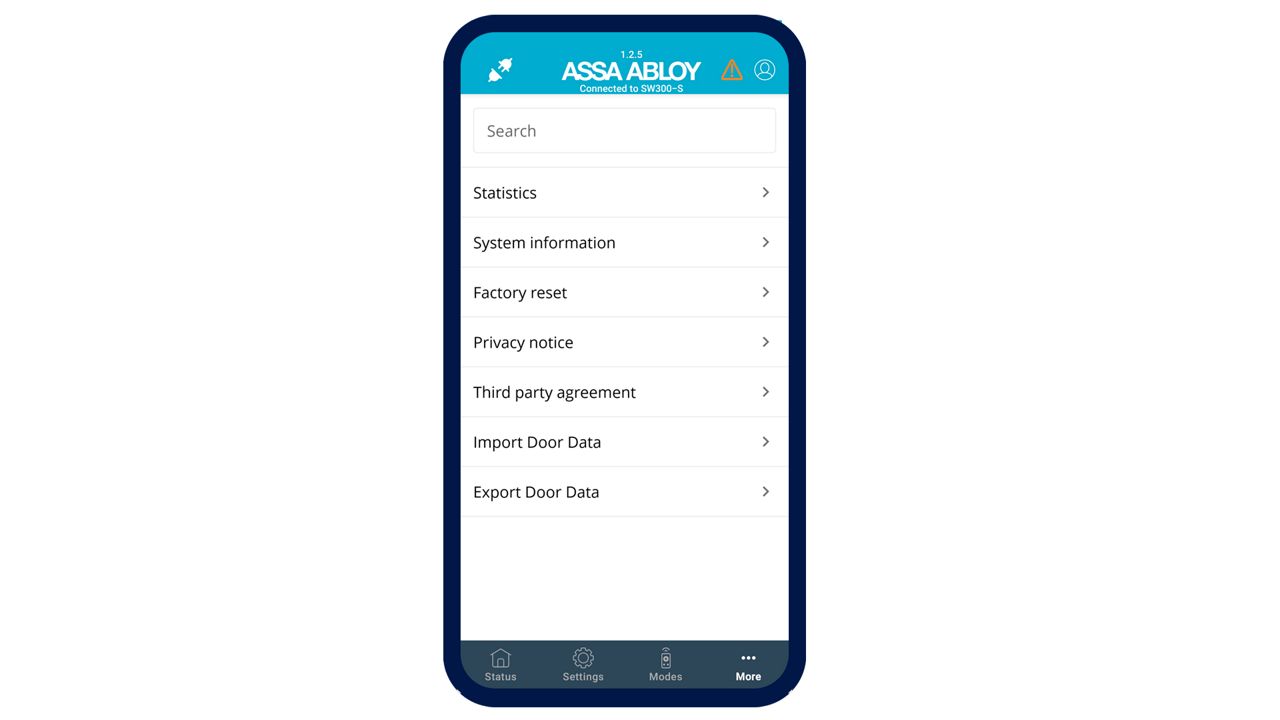
More
The More tab provides access to additional functions, including statistics, factory reset, data import and export, and software updates.
The door controller firmware can be updated from the System Information menu.
To disconnect the app from the door, tap the icon in the upper-left corner of the screen.




Do you need help with the Swing Door Service Tool?
If you need assistance with the Swing Door Service Tool please contact our support team and complete the form below.